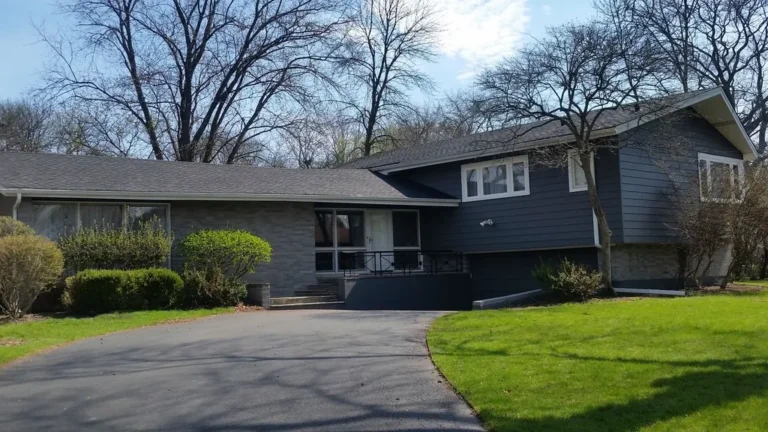
Exterior house painting in NJ has to stand up to humid summers, freezing winters and plenty of rain. Picture this: to save a day, a crew paints over chalky, flaking siding on a damp morning. By next summer the new coat is peeling, and you are paying for the same job twice. This guide shows you when to paint, how good prep works, which paint to choose and what the lead rules mean for older homes.
Key takeaways
The weather on painting days matters more than the month, so follow the temperature range on the paint label.
Careful prep, from washing to priming, decides how long the finish lasts.
Paid work that disturbs paint in a home built before 1978 calls for a lead-safe certified firm.
New Jersey’s rules list painting as a home improvement, so ask any painter for a state registration number.
When to Schedule Exterior House Painting in NJ
Many homeowners here plan outdoor painting for late spring through early fall. During those months, days are longer and the weather is usually warmer and drier. Still, the calendar is only a starting point. What matters most is the weather on the days the crew actually works.
Paint needs the right conditions to bond and cure. So check the label first, because every product lists the temperature range it needs. In addition, avoid days with rain in the forecast, heavy morning dew or strong sun on a hot afternoon. A good painter watches the forecast and moves the schedule when needed. Because the popular months fill up fast, it also helps to book early.
Tip: Ask your painter how they decide when a day is too cold, too wet or too hot to paint. A clear answer, tied to the product label, is a good sign that they will not rush the job.
Prep Steps for Exterior House Painting
Even the finest paint will fail on a dirty or flaking surface. That is why careful preparation takes up much of a quality job. A typical prep process runs in this order:
Clean the surfaces. Wash the siding and trim to remove dirt, mildew and chalky residue.
Scrape loose paint. Remove anything that is peeling or flaking, so the new coat has a firm base.
Sand rough edges. Feather the edges of scraped areas so the new paint lies smooth.
Repair the wood. Fix or replace rotted boards and trim before any paint goes on.
Caulk and fill. Seal cracks and gaps around windows, doors and trim.
Prime bare spots. Prime bare wood and repaired areas so the topcoat bonds evenly.
Skipping any of these steps can shorten the life of the paint. So when you compare painters, ask how they handle prep, not just which paint they use.
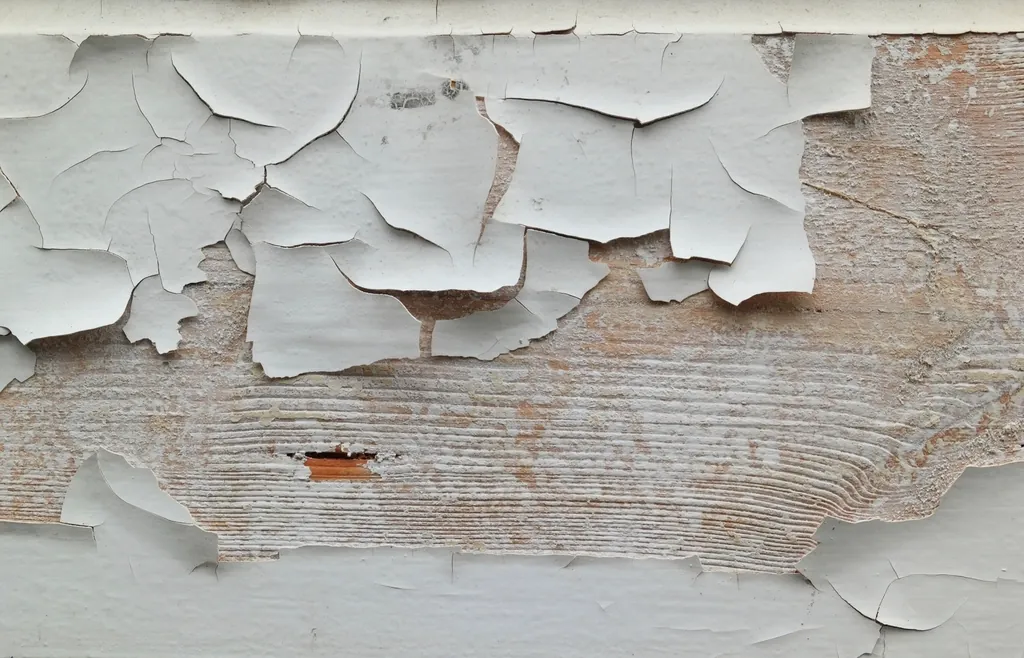
Paint like this has to be scraped and sanded first. New paint over a loose layer will fail along with it.
Power Washing Before You Paint
Power washing is often the first step, either on painting day or a few days before. It removes grime, pollen and mildew that would keep new paint from sticking. It also shows you where old paint is loose, since washing can lift weak spots.
However, the surface must dry completely before any primer or paint goes on. Wood can hold moisture longer than it seems, so a careful painter checks the siding and waits if it is still damp.
Watch out: More pressure is not always better. Too much force can gouge soft wood or drive water behind siding. A skilled crew adjusts the pressure and the nozzle for each surface.
Choosing Paint and Sheen
Many painters use water-based acrylic paint for siding and trim. It stays flexible as materials expand and contract with the seasons, and it cleans up with water. Oil-based products still appear on some doors, metal railings and older trim. If your home has old oil-based paint, your painter may need a primer that bonds well over it.
Sheen matters, too. Here is a simple way to think about the common choices:
Flat or matte
Satin
Semi-gloss
Often used on
Siding
Siding and trim
Trim, doors, shutters
Hides small flaws
Best
Good
Less
Easy to wipe clean
Less
Good
Best
Ask your painter which product and sheen they suggest for each surface, and why. Then get the brand and product line in writing.
Get the brand, product line and sheen for each surface written into your estimate before work starts.
Lead Paint Rules for Homes Built Before 1978
Extra rules apply if your home was built before 1978. In that year, the federal government banned the sale of lead-based paint for use in homes. According to the EPA, about three-quarters of U.S. homes built before 1978 still contain some lead-based paint. Scraping, sanding and other work that disturbs it can create dangerous lead dust and chips.
For that reason, the EPA’s Renovation, Repair and Painting Rule covers paid work that disturbs painted surfaces in pre-1978 homes. Anyone paid to do that work must be certified, and their workers must be trained in lead-safe work practices. This applies to all firms, even one-person businesses. The EPA advises homeowners to hire a lead-safe certified contractor for these projects. So if your home is older, ask for proof of certification before work begins.
The rule generally does not cover homeowners who paint their own homes. Even so, it does apply if you rent out all or part of your home. If you do the work yourself, follow the EPA’s lead-safe practices for do-it-yourselfers.
What Drives the Cost, and How to Compare Bids
No two homes cost the same to paint, because every job is different. Instead of hunting for one price, it helps to know what moves the number:
The size and height of the house, and how easy it is to reach
The condition of the current paint and the amount of prep needed
Wood repairs, caulking and priming
The number of colors and the amount of detailed trim
The quality of the paint you choose
Lead-safe work practices for older homes
Every extra color and run of trim adds time, so expect detailed trim to show up in the price.
Next, ask for written estimates from more than one company and compare them line by line. Use this checklist:
Which surfaces are included, and how many coats each one gets
Every prep step, listed in writing
The paint brand, product line and sheen for each surface
Proof of insurance and the company’s state registration number
Lead-safe certification if your home was built before 1978
How the crew will protect plants, walkways and windows, and how it will clean up
Exterior House Painting in NJ: Questions Homeowners Ask
How often should I repaint the outside of my house?
It depends on your siding, how much sun it gets and the quality of the last job. Instead of counting years, watch for warning signs. Peeling, cracking, fading and a chalky residue all suggest it is time to call a painter.
Can exterior house painting in NJ be done in the fall?
Yes, on suitable days. Early fall often brings mild, dry weather. However, cooler nights and heavy dew can slow drying. As a result, your painter may start later in the morning and wrap up earlier in the afternoon.
Do I need a permit for exterior house painting in NJ?
Usually not. A state Department of Community Affairs reference lists interior and exterior painting as ordinary maintenance, which needs no construction permit. The lead rules above still apply to older homes, so check with your local construction office if your project includes repairs.
How Tony DiGrezia Can Help
Tony DiGrezia founded Elite Painting & Powerwashing Inc., which has served North Jersey homeowners and property managers for nearly three decades. The Roseland company handles interior and exterior painting, power washing, cabinet painting, and commercial and condominium projects. It focuses on careful preparation and clear communication. It works in towns across Essex, Morris, Bergen, Passaic, Union and Somerset counties, and it is licensed and insured in New Jersey (#13VH01697600).
To plan your project, visit Tony’s profile to call, email or request an introduction. You can also browse the Home Projects & Repairs team, which includes roofing and siding contractor Alex Castro and Tim Fisher, who offers home improvements and custom carpentry. Property managers may also want to see the Commercial Property & Facilities team.
This article is general information, not professional advice. For guidance on your home, speak with a registered, insured painting contractor.



 With Peter Travisano Residential Plumbing